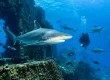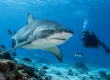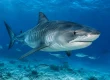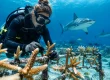
A reef scene can look effortless on screen: a turtle gliding past, sunlight moving over coral, a shark holding its calm, powerful line through blue water. Learning how to start underwater videography is less about buying the biggest camera and more about developing the underwater control, awareness, and patience to capture those moments without disturbing them.
For divers visiting Fiji or building skills closer to home, the best first goal is simple: create stable, well-exposed clips while remaining a responsible, relaxed dive buddy. The cinematic footage comes later, once the fundamentals become automatic.
Start Underwater Videography With Diving Skills
Your camera should never become the most demanding thing you manage underwater. Before bringing one on a meaningful dive, be comfortable with buoyancy, trim, breathing control, and situational awareness. If you are still using your hands to steady yourself, drifting into the reef, or struggling to maintain depth during stops, filming will amplify those issues.
Practice hovering over a sandy area or well clear of coral. Hold position while framing a fixed subject, then slowly turn, ascend, and descend without using your hands or kicking up sediment. This is not glamorous practice, but it is where clean footage begins. A stable diver produces stable video.
Good buoyancy also protects the environment. Finning too close to the bottom can damage fragile coral or cover it in sediment, while chasing marine life for a closer shot changes its behavior. The most compelling footage usually comes from a diver who settles in, gives an animal room, and allows the scene to unfold naturally.
Choose dives that match your experience
Early filming dives should be forgiving. Look for calm conditions, clear water, familiar sites, moderate depths, and subjects that do not require fast swimming or complicated navigation. A colorful reef, schooling fish, or a cleaning station offers more than enough material for practice.
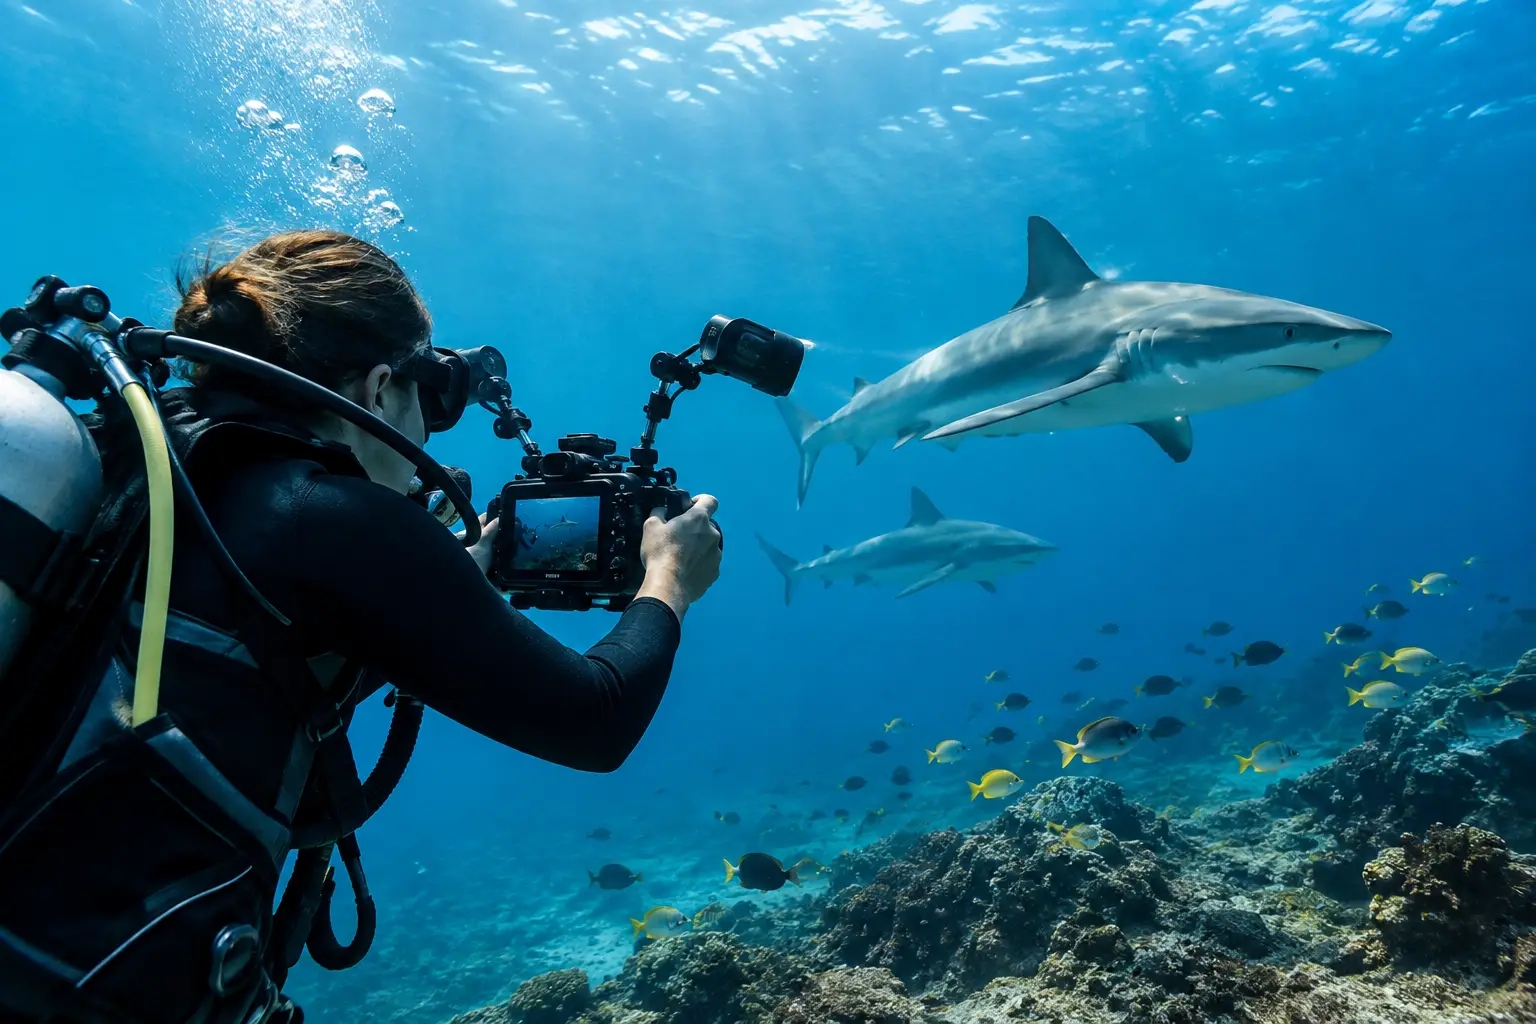
Current, low visibility, deep profiles, and advanced wildlife encounters demand more attention. Those conditions can make exceptional video, but they are better approached after your camera handling is second nature. On a guided shark dive, for example, your position, awareness of the group, and adherence to the briefing always come before getting a dramatic angle.
Pick a Camera Setup You Can Actually Use
The right starting setup depends on budget, travel style, and how much creative control you want. An action camera in a quality underwater housing is often the most practical entry point. It is compact, relatively simple to operate, and capable of sharp wide-angle footage in good conditions.
A compact camera with a dedicated housing offers more manual control and may be a natural next step for travelers who want to refine color, exposure, and focus. Mirrorless and DSLR systems can deliver outstanding professional results, especially with external lights and wide-angle lenses, but they are more expensive, larger, and less forgiving to travel with. They also require discipline around housing care and setup.
Do not judge a camera only by resolution. A 4K camera is useful because it gives you room to crop or stabilize footage in editing, but light, lens choice, stabilization, and camera handling matter more than the number printed on the box. Start with a setup that leaves you focused on the dive rather than buried in controls.
Build your kit in the right order
A secure housing rated beyond your planned depth is non-negotiable. So is a lanyard or secure attachment method that prevents accidental loss while still allowing you to release the camera quickly when necessary. A red filter can help in certain blue-water conditions, but it is not a universal solution and can reduce available light.
If you add one accessory early, consider a tray with handles. It makes the camera easier to hold steadily and encourages smoother movements. External video lights are highly valuable for close subjects, caves, wreck details, and rich reef color, but they are less useful when filming wide scenes in bright tropical water. Light has a limited reach underwater, so powerful lights will not illuminate a distant shark or an entire coral wall.
Before every dive, inspect the housing O-ring. Remove it carefully, check for sand, hair, fibers, or damage, clean it as recommended by the manufacturer, and close the housing in a dry area. A flooded camera is often the result of a small preparation mistake, not bad luck.
Shoot Fewer, Better Clips
New underwater videographers often record everything. The result is long, shaky files that are difficult to edit and rarely tell a story. Instead, decide what you are filming before you press record.
A useful practice is to capture a short sequence: a wide shot that establishes the site, a medium shot that shows the main subject, and a close detail that adds texture. On a reef, that might mean a broad view of the coral garden, a school of fish moving through it, then a close clip of a cleaner shrimp or the pattern on a clam mantle. Each clip only needs to last around 10 to 20 seconds if the frame is stable and the action is worthwhile.
Move slowly, if at all. Avoid sweeping the camera rapidly across a scene. Pan only when there is a reason, such as following a turtle or revealing a wreck structure, and stop your movement before stopping the recording. Begin and end each clip with a few seconds of stillness. Those extra moments make editing far easier.
Keep your lens at the subject’s level whenever possible. Shooting down on fish tends to flatten the scene and shows more empty sand. A lower angle can create depth, place blue water behind the subject, and make marine life feel more present. Maintain respectful distance and never block an animal’s path, touch the reef, or manipulate a subject to create a shot.
Understand Light, Color, and Water Movement
Water absorbs color quickly. Reds and oranges fade first, which is why raw footage can look overwhelmingly blue or green. The closer you are to a subject, the more natural color you can retain. This is another reason strong composition matters: moving closer to a small, appropriate subject is often better than zooming toward it.
For wide reef and shark scenes, ambient light can be beautiful. Position yourself so the sun is behind or slightly to the side of you when possible, keeping the strongest light on your subject. Shooting directly into the sun can work for silhouettes, but it requires intention and exposure control.
Set white balance deliberately if your camera allows it. Auto white balance can shift mid-clip, especially when the camera moves between open blue water and a shaded reef. Manual white balance or a consistent color profile gives you more reliable footage to correct later. It depends on your camera and editing workflow, so test settings in shallow water before relying on them during a once-in-a-lifetime encounter.
Current adds another layer. Rather than fighting it to hold an impossible frame, use the drift to your advantage. Let the current carry you gently past a reef face or alongside a school of fish, while keeping your body streamlined and your camera close to your centerline.
Follow a Safety-First Camera Routine
Treat the camera as equipment, not a reason to separate from your buddy or ignore the plan. Agree before the dive on communication, depth limits, turn pressure, and what happens if one diver becomes absorbed in filming. Make regular checks of your air, depth, no-decompression status, and surroundings, especially after an exciting encounter.
In areas with larger marine life, listen closely to the guide’s briefing and follow local protocols. At Coral Coast Divers, structured guidance around wildlife encounters helps guests focus on responsible observation as well as memorable imagery. Great shark footage is built on calm behavior, predictable positioning, and respect for the animals and the people managing the dive.
Rinse your housing in fresh water after every saltwater dive, operate buttons while it is submerged to help remove salt, and dry it before opening. Back up footage each day when traveling. Memory cards are small, but the loss of a rare wildlife moment can be significant.
Edit for Feeling, Not Just Proof
Editing is where individual clips become a story. Start by selecting only the steadier shots with purposeful action. Trim aggressively. A 60-second film with clear pacing, natural color, and a few memorable moments is more watchable than a 10-minute record of every part of the dive.
Use music and transitions carefully if you use them at all. The sound of bubbles, reef life, and water movement can add more authenticity than an overly dramatic soundtrack. Correct color gradually, avoiding heavy saturation that makes coral look artificial or turns blue water into an unnatural shade.
Your first underwater videos do not need to look like a wildlife documentary. Let them document progress: cleaner buoyancy, more thoughtful framing, a better understanding of light, and closer attention to the reef. The camera is most rewarding when it makes you a more observant diver, not a more intrusive one.