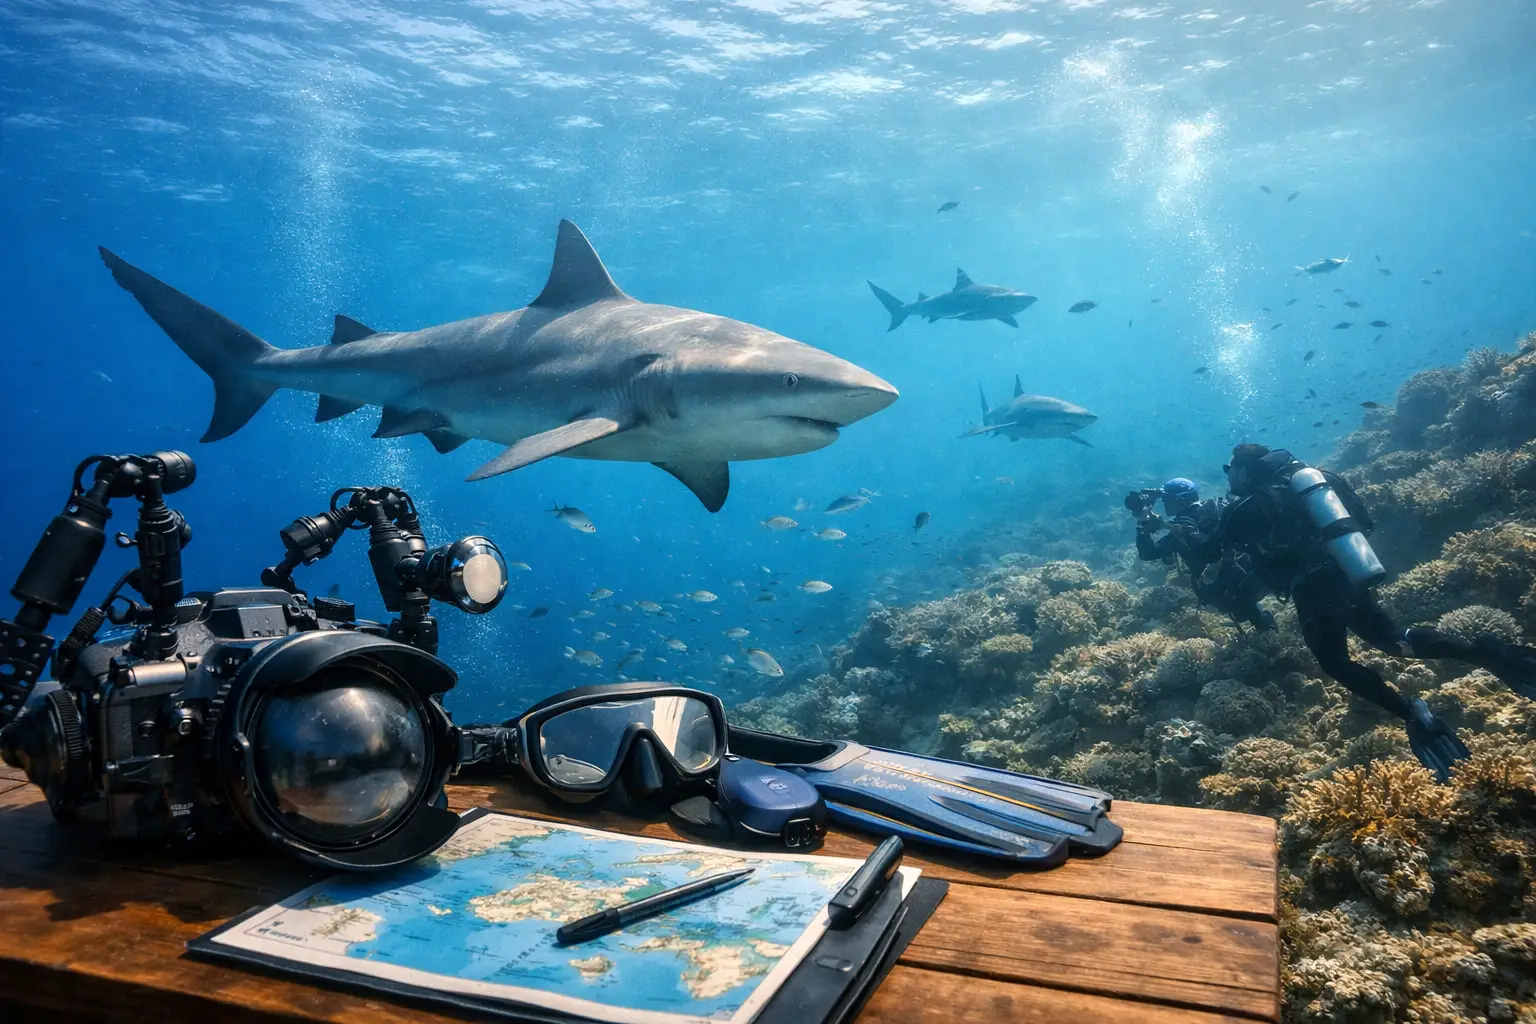
The best shark image is rarely the one you chase. It is the one you are ready for when a shark passes through clean water, turns into the light, and behaves naturally because every diver in the group is calm, correctly positioned, and following the briefing. Learning how to plan shark photography begins long before the camera enters the water.
Shark dives can move quickly, especially at active sites where multiple species may appear and current, depth, bait positioning, or changing light shape the encounter. A strong plan protects the dive first, improves your images second, and supports the conservation standards that make these encounters possible.
Start With the Right Shark Dive, Not Just the Right Camera
Photography goals should influence the dive experience you select. A reef shark cruising across a bright coral slope calls for a different approach than a structured shark encounter at depth, where larger species may move through a defined viewing area. Ask your operator about expected depth, visibility, current, bottom time, likely shark species, and whether the site allows enough room to photograph without interfering with the safety protocol.
Be realistic about your certification, comfort level, and camera experience. If you are still developing buoyancy control, a compact camera or action camera may give you more freedom than a large housing with dual strobes. If you are an experienced underwater photographer, you may prioritize a site with consistent shark activity, a stable position, and repeatable behavior patterns.
At The Colosseum in Fiji’s Beqa Lagoon, the experience is built around professional management, defined diver placement, and close observation of shark behavior. That structure can be valuable for photographers, but it also means the briefing is not optional background information. It is the framework for every safe image you take.
Build Skills Before the Shark Dive
A camera can create task loading at exactly the wrong moment. Before a shark photography dive, you should be able to hold position without using your hands, monitor depth and gas, deploy or manage your equipment, and respond to your guide without becoming absorbed by the viewfinder.
Practice with your full setup on an easier reef dive first. Confirm that you can operate your camera controls with gloves if needed, clear your mask while holding the rig securely, and keep fins away from coral. If you have added strobes, test their buoyancy and trim. A front-heavy housing can pull you down and make a stable shooting position surprisingly difficult.
A refresher dive, buoyancy-focused coaching, or an advanced training session is a smart investment if you have been out of the water for a while. The goal is not to become a technical camera specialist overnight. It is to remove enough friction that you can keep situational awareness when a shark approaches.
Match Your Gear to Your Real Experience
Wide-angle photography is usually the most effective choice for sharks. It lets you include the animal, blue water, divers, reef structure, or surface light while keeping your lens close enough to reduce backscatter. Long lenses may appear useful from the boat, but underwater they often require distance you will not have and can flatten the scene.
For a first dedicated shark shoot, bring equipment you know well: a reliable camera body or compact system, a wide lens, a housing you have tested, a secure lanyard, and an anti-fog solution. Avoid debuting a complicated new lighting system on the day of a premium shark dive.
Strobes can add color and detail to a close subject, but they are not always the best tool. In blue water with suspended particles, powerful flash can create distracting backscatter. Ambient-light images may look cleaner and more dramatic, particularly when a shark is silhouetted against the surface. If you use strobes, keep them pulled wide and slightly behind the lens port to limit illumination of particles directly in front of the camera.
Plan Settings for Motion and Blue Water
Sharks are smooth swimmers, but they are not still subjects. Start with a shutter speed that can hold definition through the head and eye – often around 1/125 to 1/250 second, depending on available light, lens choice, and how fast the animal is moving. Use a faster shutter if the scene is bright enough and you want to reduce motion blur.
A moderate aperture, commonly around f/5.6 to f/8 on many camera systems, provides useful depth of field while preserving light. Let ISO rise only as far as your camera can handle comfortably. Clean exposure matters, but an image with a sharp eye and a little grain is usually stronger than a blurred image with technically perfect noise levels.
Set white balance intentionally if you shoot video, since automatic white balance can shift as the shark crosses different backgrounds. For stills, RAW files give you more flexibility afterward. Use continuous autofocus with a subject-tracking mode if your system performs well underwater, but do not assume automation is infallible. Keep the focus area near the shark’s head and check results between passes.
Your first frame should establish the scene. Your better frame may come when the shark angles slightly toward you, with the eye visible and the body separated from a distracting background. Avoid firing continuously at every movement. Watch the approach, anticipate the turn, and make deliberate frames.
Attend the Briefing Like a Photographer
A shark dive briefing tells you more than where to sit or when to descend. It explains how animals are expected to move, where guides need divers to remain, how to respond if a shark comes close, and what behavior is unacceptable. These details are your shot plan.
Listen for the designated photographer position, hand signals, group spacing, and rules around lights, flash, and movement. Ask whether you should shoot from a fixed point or if controlled repositioning is permitted. Never assume that a better angle is worth leaving the assigned area.
A guide may ask you to lower your camera, stay close to the bottom, or pause shooting. Do it immediately. The most credible shark photographers are known for reading the team and the animals, not for forcing a frame.
Respect Distance, Body Language, and the Site
Do not touch, feed, block, ride, or pursue sharks for an image. Keep your body profile calm, your fins controlled, and your movements purposeful. If an animal changes direction, lowers its pectoral fins, accelerates, or appears agitated, give it room and follow your guide’s direction.
The same respect applies to the reef and other divers. Do not kick up sediment for a low-angle shot, crowd someone else’s view, or place your camera where it compromises a safety professional’s work. Exceptional wildlife photography depends on access to healthy ecosystems. Damage the setting, and the image loses the conservation story that gives it meaning.
Use Composition to Show More Than Teeth
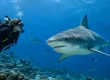
Shark photography becomes more memorable when it communicates place. A close portrait can be powerful, but a wider frame with reef, schooling fish, or a diver positioned at a respectful distance reveals scale and context. Look for clean water behind the animal, surface rays above, and lines in the reef that lead the viewer toward the shark.
Try to photograph at the shark’s eye level whenever the dive plan permits. Looking down on an animal often makes it appear smaller and less connected to its environment. A low, stable perspective can create presence without requiring you to approach.
Also consider what story your final collection will tell. Capture a few establishing images, behavior details, environmental frames, and quiet moments between shark passes. This variety is useful for a travel portfolio, a conservation post, or a personal record of the experience. It also prevents the common mistake of returning with hundreds of nearly identical head-on shots.
Prepare the Night Before and Review Afterward
Charge batteries, clear and format memory cards only after confirming images are backed up, inspect O-rings, and assemble the housing in a clean, dry space. Check the housing for hair, sand, or damaged seals. Once at the dive center, allow time for a final leak check before boarding.
After the dive, rinse equipment according to the operator’s guidance and back up files in two places as soon as practical. Review your images with honesty. Notice which settings worked, where you lost focus, and whether your position supported the group rather than competing with it. Those observations will improve the next dive more than any single camera upgrade.
Coral Coast Divers approaches shark encounters as both a world-class adventure and a responsibility to the marine environment. Bring that same mindset to your photography: stay prepared, remain observant, and let patient, respectful moments tell the strongest story.