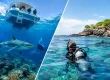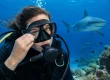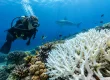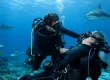
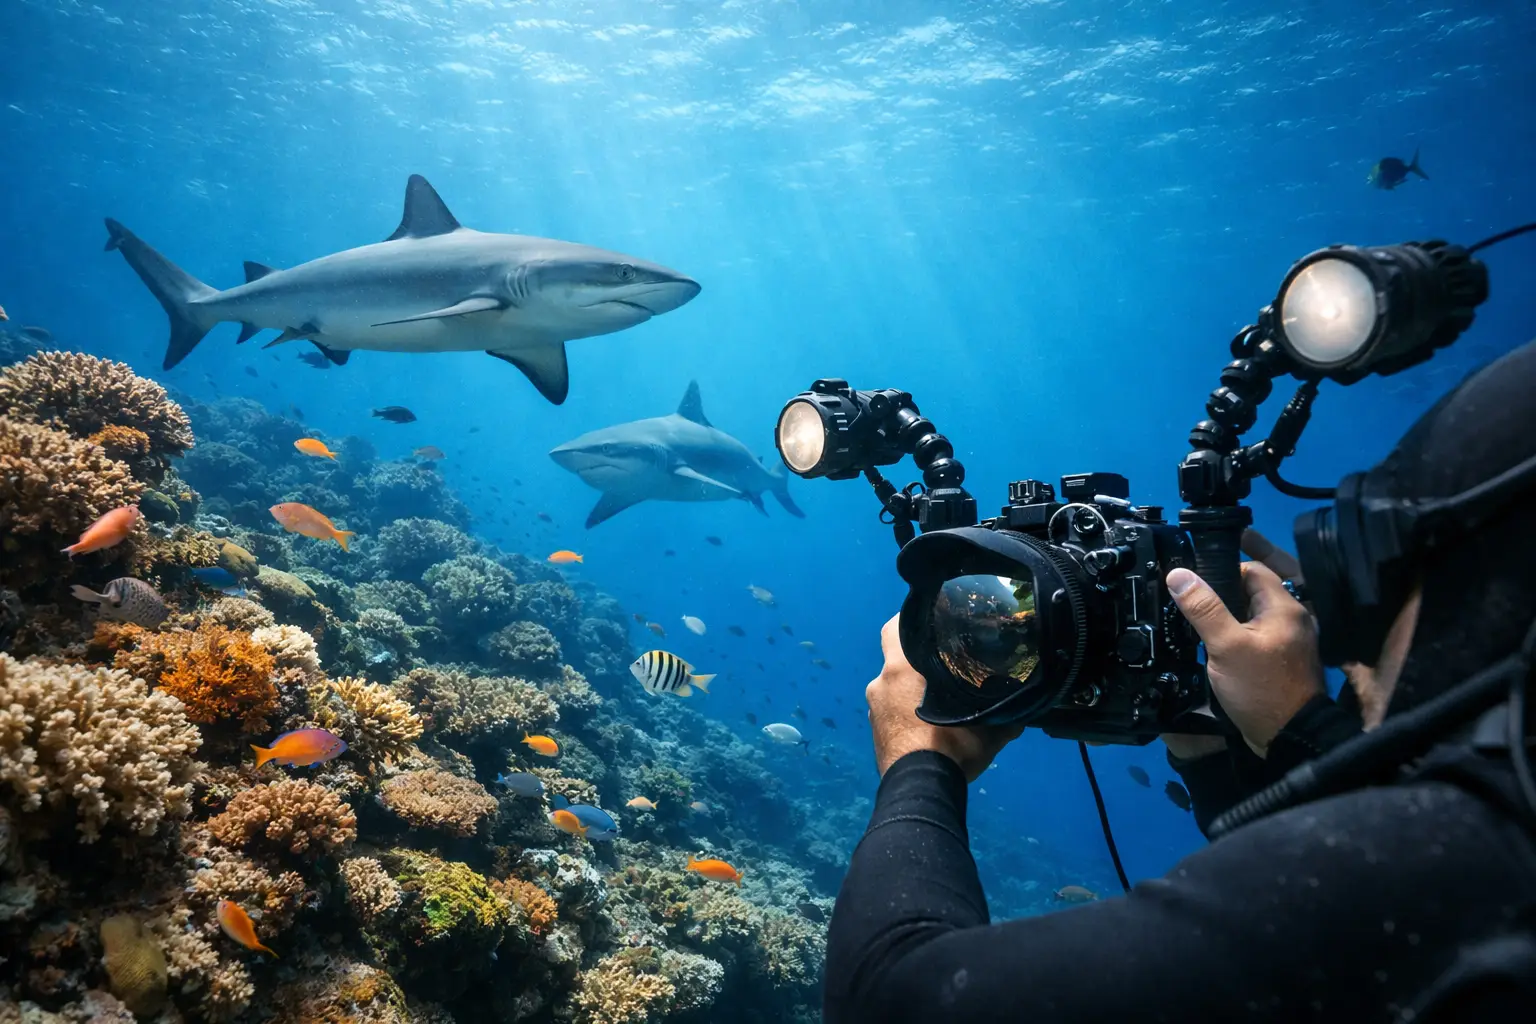
A silvertip shark gliding across blue water, a soft coral reef glowing beneath a sunbeam, a turtle moving through a narrow passage – these moments do not wait while you search through menus. The best underwater camera settings give you a dependable starting point before you descend, so you can concentrate on buoyancy, awareness, and the encounter in front of you.
There is no single setting that works for every dive. Fiji’s bright shallow reefs, darker overhangs, current-swept walls, and close shark encounters all ask different things of a camera. The goal is not to chase complicated technical perfection. It is to understand exposure well enough to make fast, controlled adjustments without compromising safe diving practices or the marine environment.
Best Underwater Camera Settings: Start With Exposure
Underwater images lose color and contrast quickly because water absorbs light. Red disappears first, followed by orange and yellow, while suspended particles can turn a promising frame into a field of backscatter. Your exposure settings should first protect the available light, then add artificial light when it will improve the subject rather than overwhelm it.
For most wide-angle reef and shark photography, begin in manual exposure mode. Set your shutter speed between 1/125 and 1/200 second. This range is fast enough to keep a moving shark or swaying coral reasonably sharp while still allowing useful ambient light into the camera. If the subject is moving quickly or visibility is lower, move closer to 1/250 second, provided your strobes have enough output.
Keep ISO as low as conditions allow. ISO 100 or 200 usually delivers cleaner files in bright tropical conditions. If you are photographing a shark passing through blue water or shooting beneath a reef ledge, ISO 400 can be a sensible compromise. Higher ISO settings may be necessary with compact cameras or natural-light video, but noise becomes more noticeable in blue water and shadow areas.
Aperture depends on your subject and camera system. For wide-angle scenes, f/8 to f/11 is a strong working range on many interchangeable-lens cameras. It provides enough depth of field for a shark approaching the frame while keeping reef detail acceptably sharp. With compact cameras, the usable aperture range is smaller, so prioritize a setting that gives good corner sharpness without forcing ISO too high.
If you remember one exposure principle, make it this: shutter speed, aperture, and ISO mostly control the blue background, while strobe power mostly controls the color and brightness on the subject. Adjust one variable at a time, review the result, and avoid turning every control at once.
A Practical Wide-Angle Starting Point
For a sunlit reef, begin around 1/160 second, f/8, and ISO 200. Position your strobes wide and slightly behind the lens ports, then take a test frame toward open water. If the water looks too pale, increase shutter speed or close the aperture slightly. If it looks too dark, lower the shutter speed, open the aperture, or raise ISO modestly.
When a large animal enters the scene, do not immediately chase it with settings. Hold your composition, stay calm, and let the animal choose its distance. At a managed shark diving site such as The Colosseum in Beqa Lagoon, disciplined positioning is as valuable as any camera upgrade. Your guide’s briefing, the established viewing protocols, and respectful behavior around wildlife come first.
Focus Settings for Sharks, Reefs, and Fast Moments
Autofocus can struggle underwater because contrast is lower and particles may drift between you and the subject. For sharks, rays, turtles, and moving fish, use continuous autofocus, often labeled AF-C or Servo AF. Choose a small focus area or a flexible zone rather than letting the camera select the entire frame. Place that point near the animal’s eye, head, or leading edge.
Back-button focus can be especially useful for experienced shooters. It separates focusing from the shutter release, allowing you to track a moving subject without repeatedly refocusing when you take a photo. It takes practice on land before a dive trip, but it can make a meaningful difference during a short pass from a shark or turtle.
For close-focus wide-angle photography, use single autofocus and aim for the nearest important detail – typically the coral, an anemone, or a fish’s eye. Depth of field helps, but it cannot rescue a frame focused on drifting particles instead of the subject. Get physically close while maintaining excellent buoyancy and never touch, brace against, or rearrange marine life for an image.
Strobe Placement Matters More Than Extra Power
Many underwater photos look flat not because the camera setting is wrong, but because the light is coming from the wrong place. Strobes placed close to the housing and pointed straight ahead illuminate particles in front of the lens. The result is backscatter: bright white flecks that distract from the subject.
Start with two strobes positioned wide, with their heads slightly behind the front of the lens. Angle them outward so the softer edge of each beam lights your subject. This creates more natural color while reducing light reflected from particles. The closer you are to your subject, the lower your strobe power can be.
For a large shark in clear blue water, set strobes around one-quarter to one-half power and bring them in only as needed. You are trying to add detail and color to the animal, not erase the surrounding blue water. On a reef portrait at close range, lower power and a wider strobe angle can reveal texture without producing harsh hotspots.
Single-strobe and compact-camera photographers can still produce excellent results. Keep your light slightly off-axis, stay close, and select subjects that work with the equipment you have. A well-composed image of a colorful reef fish in good light is stronger than a distant shark frame filled with haze.
White Balance and When to Use Ambient Light
For still photos captured in RAW, automatic white balance is often the most practical choice. RAW files retain more color information, allowing you to correct warmth and tint during editing. This is particularly helpful when moving between shallow reefs and deeper blue-water scenes in a single dive.
If you shoot JPEGs, custom white balance deserves more attention. Set it at the depth where you plan to photograph, using a neutral slate or pale sand where appropriate. A custom setting can improve natural-light images, especially for video, but it must be reset as depth and light change.
Video shooters generally benefit from manual white balance rather than auto white balance, which can visibly shift colors mid-clip. In clear, shallow water, a white balance around 5,500K to 6,500K may work well with lights. In deeper ambient light, a custom white balance is usually more reliable than choosing a fixed number. Watch your monitor carefully: an overly warm reef can look unnatural just as quickly as a cold, monochrome blue scene.
For natural-light shark images, consider turning strobes off when the animal is distant. Expose for the water and silhouette, and use the sun angle deliberately. A shark framed against bright surface light can be more dramatic as a clean silhouette than as a poorly lit subject surrounded by backscatter.
Settings by Dive Situation
A shallow coral garden offers abundant light but high contrast. Use a faster shutter speed, modest ISO, and an aperture around f/8 to preserve sky-blue water and reef detail. Work low and look slightly upward when possible, which gives the image depth and separates the subject from the seabed.
On a deeper wall or wreck, light falls quickly and ambient colors fade. Slow the shutter toward 1/100 or 1/125 second if your subject is relatively still, open the aperture if needed, and use strobes to restore foreground color. Keep your body position stable before taking the shot. A slightly slower shutter is workable only when your buoyancy and finning are controlled.
For shark encounters, use a wide lens, continuous focus, and a shutter speed that can handle movement. Set exposure before the action begins, then make only small changes between passes. Avoid extending a camera, blocking another diver’s view, or moving outside the agreed position for a closer frame. Predictable divers create safer, calmer wildlife encounters.
For macro subjects, the priorities change. Start with a faster shutter speed around 1/160 to 1/250 second, lower ISO, and a smaller aperture such as f/11 to f/16 when your system supports it. Strobes become the main light source. Focus carefully on the eye, use restrained power, and resist the temptation to hover too close to fragile coral or settle on the bottom.
Build a Camera Routine Before Every Descent
The strongest underwater photographers are not constantly changing settings. They establish a baseline, verify it before entering the water, and adapt with purpose. Check battery levels, memory capacity, housing seals, strobe connections, lens cleanliness, and the correct focus mode before the boat leaves. A tiny fiber on an O-ring or a forgotten strobe setting is easier to fix topside than at depth.
During the dive, take one deliberate test image early. Check exposure, strobe output, and focus behavior, then keep your attention on your buddy, guide, depth, gas supply, and surroundings. A camera is an addition to a dive, never a reason to lose situational awareness.
The best image from Fiji may be a perfectly exposed shark portrait, but it may also be the frame that reflects a respectful encounter and a healthy reef. Set up your camera before the action starts, move slowly, and let the ocean provide the moment worth bringing home.